Key Takeaways
- Regular cleaning of ITE hearing aids prevents wax buildup and extends the device's lifespan.
- Use specific tools like a wax removal brush, wax pick/wire loop, and a soft, dry cloth for effective cleaning.
- Daily and weekly cleaning routines are essential for maintaining optimal hearing aid performance.
- Avoid using water, alcohol, or chemical wipes to clean ITE hearing aids as they can damage the device.
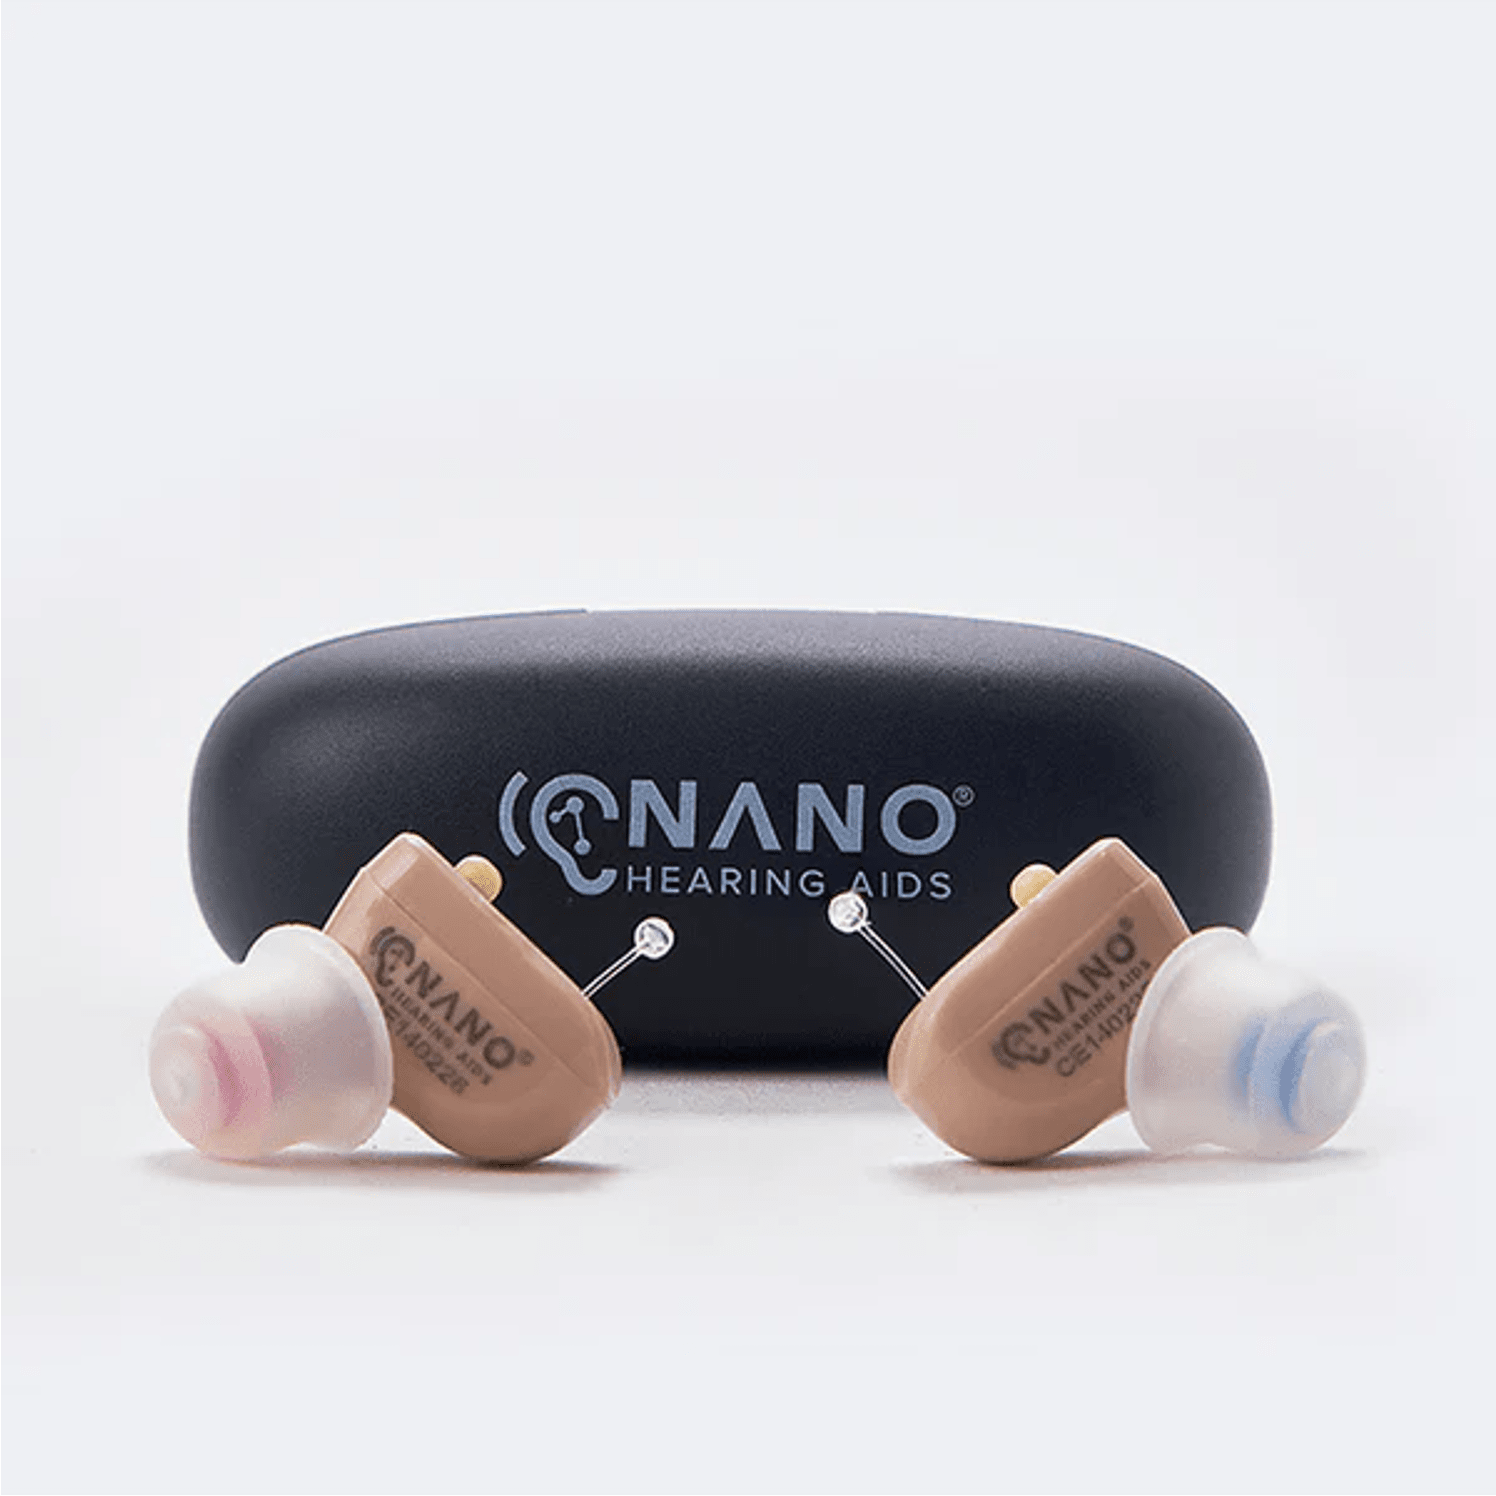
- Nano OTC hearing aids, like our First Ear Plus ITE model, are easy to clean and maintain—with customizable ear tips for a perfect fit to help prevent wax buildup.
Nano Hearing Aids
are FDA-registered, Class I devices. These OTC hearing aids are designed for individuals over 18 years of age with perceived mild to moderate hearing impairment. Nano won the Top ENT Solution Provider 2023, has 24/7 customer care, and has an affordable price compared to others.
Cleaning In-The-Ear (ITE) Hearing Aids
Why Cleaning Your ITE Hearing Aids Matters
- Reduces Wax Buildup: Earwax naturally accumulates in the ear canal, potentially clogging the sound outlet and ventilation openings of your hearing aids. Regular cleaning prevents wax buildup, ensuring sound quality remains sharp and clear.
- Prevents Infection: Earwax can harbor bacteria and fungi which can cause ear infections. Cleaning your ITE hearing aids regularly removes these harmful agents, reducing the risk of infections and keeping your ears healthy.
- Prolongs Device Lifespan: Proper maintenance prevents damage caused by wax and debris, enhances performance, and saves you from costly repairs or replacements.
Required Tools for Cleaning
- Wax Removal Brush: A small brush with soft bristles to gently remove wax and debris from the surface of your hearing aids—essential for daily cleaning.
- Wax Pick/Wire Loop: A small, pointed tool for removing stubborn wax and debris from tiny openings—especially useful for cleaning the sound outlet and ventilation openings.
- Soft, Dry Cloth: Used to wipe down the entire hearing aid, ensuring it is clean and dry. Avoid using water, alcohol, or chemical wipes, as these can damage your hearing aids.
- Vent Cleaner: A thin, flexible tool designed to clean the ventilation openings for proper airflow and to prevent moisture buildup.
Step-by-Step Cleaning Guide
1. Brush the Microphone Cover
- Use the wax removal brush to gently brush away any wax or debris from the microphone cover.
- Hold the hearing aid with the microphone cover facing down to prevent debris from falling inside.
2. Clean the Receiver and Vent Openings
- Use the wax pick or wire loop to carefully remove any buildup from the receiver and vent openings.
- These small but essential parts can easily become clogged, affecting sound quality and ventilation.
3. Using a Wax Pick/Wire Loop
- Gently insert the tool into the openings and remove any wax or debris.
- Be cautious not to push the tool too far to avoid damaging the internal components.
4. Working with a Vent Cleaner
- For larger vent openings, use the vent cleaner.
- Carefully insert it into the vent and move it back and forth to dislodge any buildup.
5. Common Mistakes to Avoid
- Avoid using water or chemical wipes, as they can harm the delicate components—always use a soft, dry cloth for cleaning.
- Don't neglect to clean the microphone cover and vent openings—wax buildup in these areas can affect sound quality.
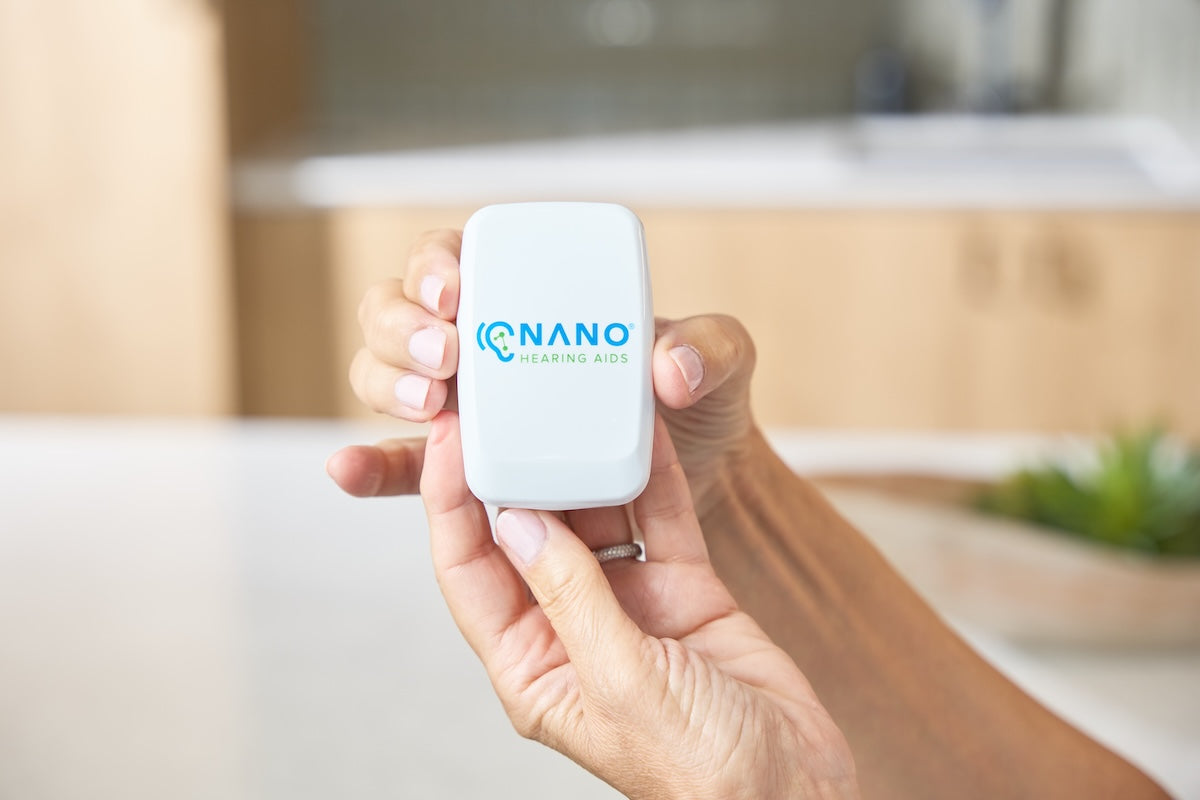
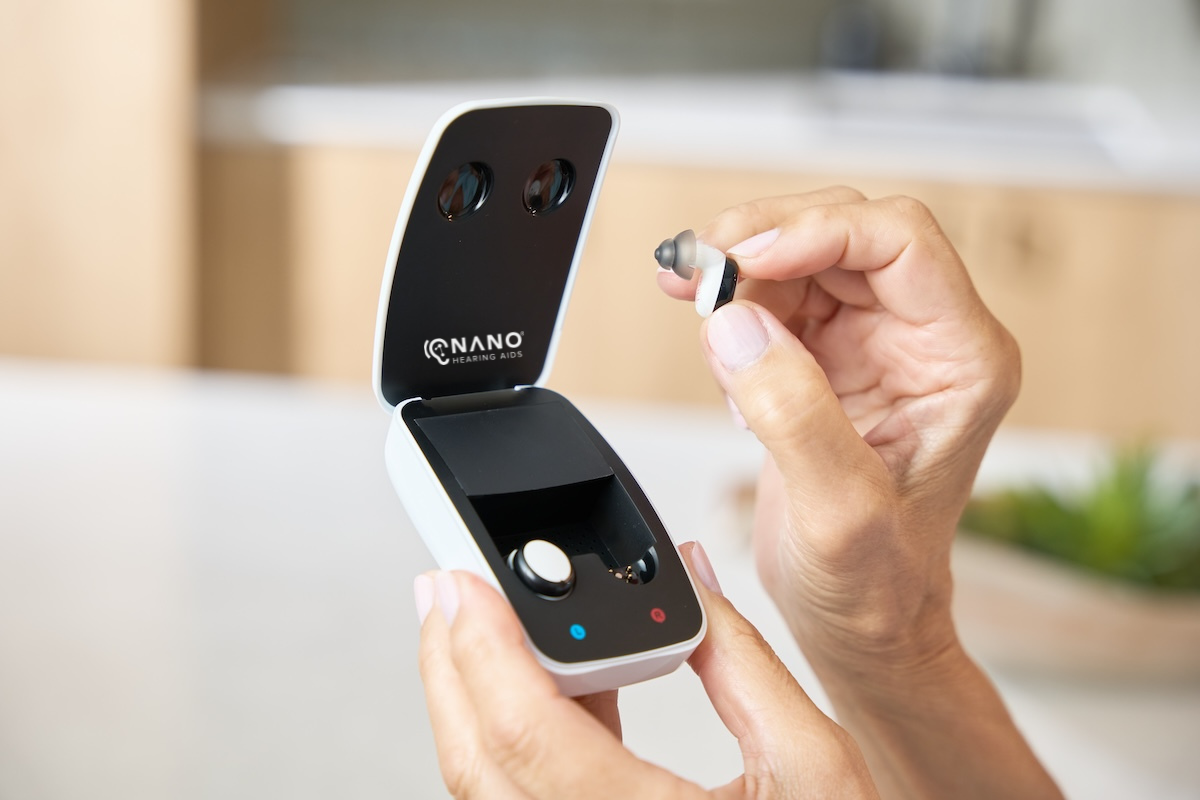
Nano’s First Ear Plus ITE model, with its compact charging case, is designed for convenient storage and protection against dirt and moisture when not in use.
Daily Cleaning Habits
- Morning Brush and Wipe Routine: Clean your hearing aids in the morning after they’ve dried overnight—dry wax and debris are easier to remove.
- Quick Steps You Can Follow:
- Use the wax removal brush to gently clean the microphone cover and sound outlet.
- Employ the wax pick or wire loop to remove stubborn debris from the receiver and vent openings.
- Wipe down the entire hearing aid with a soft, dry cloth to remove any remaining dirt and moisture.
Weekly Maintenance Schedule
In addition to daily cleaning, perform a thorough weekly cleaning to remove any buildup missed during daily routines, ensuring your hearing aids stay in top condition.
Detailed Cleaning Tips:
- Disassemble certain parts, if possible, and use specialized tools to remove accumulated wax and debris.
- Use a wax pick or wire loop to carefully extract stubborn deposits—be gentle to avoid damaging delicate components.
- Brush the hearing aid clean with the wax removal brush.
- Detach the earmold from the hook (if applicable) and clean it separately.
- Remove stubborn debris from the earmold and sound outlet with the wax pick or wire loop.
- Wipe down the entire device with a soft, dry cloth.
Checking and Replacing Wax Guards:
- Regularly check and replace wax guards to protect the internal components of your hearing aids from wax buildup.
- Use the tool provided in your cleaning kit to replace the wax guard.
Additional Tips for Optimal Care
- Store in a Dry, Cool Place: Store your hearing aids in a dry, cool place when not in use—avoid the bathroom or areas near windows to prevent exposure to humidity and direct sunlight.
- Use a Hearing Aid Dehumidifier: Regularly use a hearing aid dehumidifier to remove moisture from your devices—this helps prevent moisture-related issues and extends the life of your hearing aids.
- Regular Professional Checkups: Schedule a professional checkup at least once a year—your hearing care provider can thoroughly clean your hearing aids, inspect for potential issues, and offer personalized maintenance advice.
How Nano Hearing Aids Can Help
Nano's First Ear Plus ITE model is easy to maintain—simply remove the hearing aid from its charging case and follow the proper cleaning routine to prevent wax buildup and maintain optimal performance.
At Nano Hearing Aids, we are dedicated to helping you keep your hearing aids in optimal condition. With over seven years of experience, we've designed our FDA-registered, Class I OTC hearing aids to be both safe and user-friendly.
Our First Ear Plus ITE model, featured in this guide on how to clean in-the-ear (ITE) hearing aids, comes with a portable charging case for up to 3 full charges, customizable ear-tips for added comfort, and powerful feedback management and noise reduction for clear sound.
Frequently Asked Questions (FAQ)
How Often Should I Clean My ITE Hearing Aids?
Clean your ITE hearing aids daily to prevent wax buildup and ensure optimal performance. Perform a more thorough cleaning once a week to remove stubborn debris.
Can I Use Household Cleaning Products?
No, avoid using household cleaning products, water, alcohol, or chemical wipes on your hearing aids—these substances can damage the delicate components. Use a soft, dry cloth and the cleaning tools provided in your hearing aid cleaning kit.
What If My Hearing Aid Gets Wet?
If your hearing aid gets wet, immediately remove the battery and dry the device with a soft, dry cloth. Place it in a hearing aid dehumidifier overnight to remove any remaining moisture—avoid using heat sources like hair dryers, as they can damage the device. If the hearing aid doesn’t function properly after drying, contact your hearing care professional for assistance.
How Do I Check the Wax Guard?
Remove the wax guard using the tool provided in your cleaning kit—inspect it for wax buildup or debris. If clogged, replace it with a new one.
What Tools Are Included in a Cleaning Kit?
A typical hearing aid cleaning kit includes a wax removal brush, wax pick or wire loop, vent cleaner, and a soft, dry cloth. These tools help you clean your hearing aids effectively without damaging the device.
Are There Any Signs My Hearing Aid Needs Cleaning?
Yes, common signs include reduced sound quality, muffled sound, or feedback noises—these issues suggest wax or debris is blocking the sound outlet or ventilation openings.
What Should I Avoid When Cleaning My Hearing Aids?
Avoid using water, alcohol, or chemical wipes, as they can damage the device. Be gentle when using cleaning tools to prevent pushing debris further into the hearing aid or damaging internal components.
Why Should I Choose Nano OTC Hearing Aids?
Nano OTC Hearing Aids, like our First Ear Plus ITE model, are FDA-registered, Class I devices designed for ease of use and comfort. They come with a compact charging case for secure storage and are easy to clean.

